Today I'm pleased to share with you some photos of my most recent job. I've really enjoyed working on this one and have been looking forward to posting the "end product" pictures!
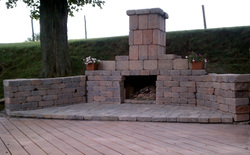
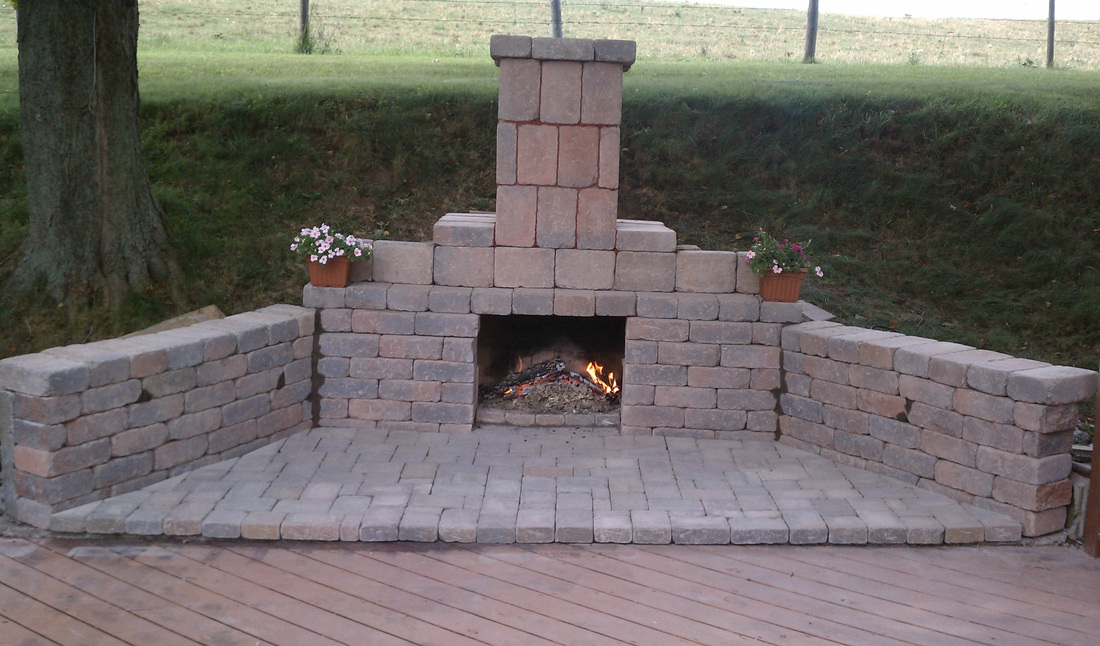
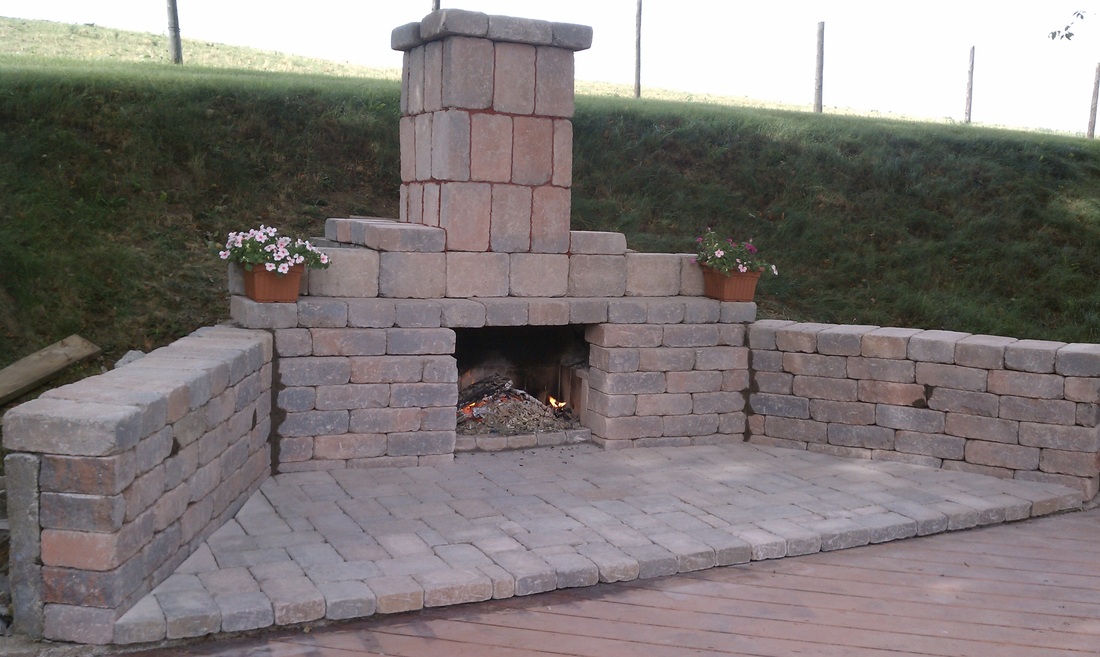
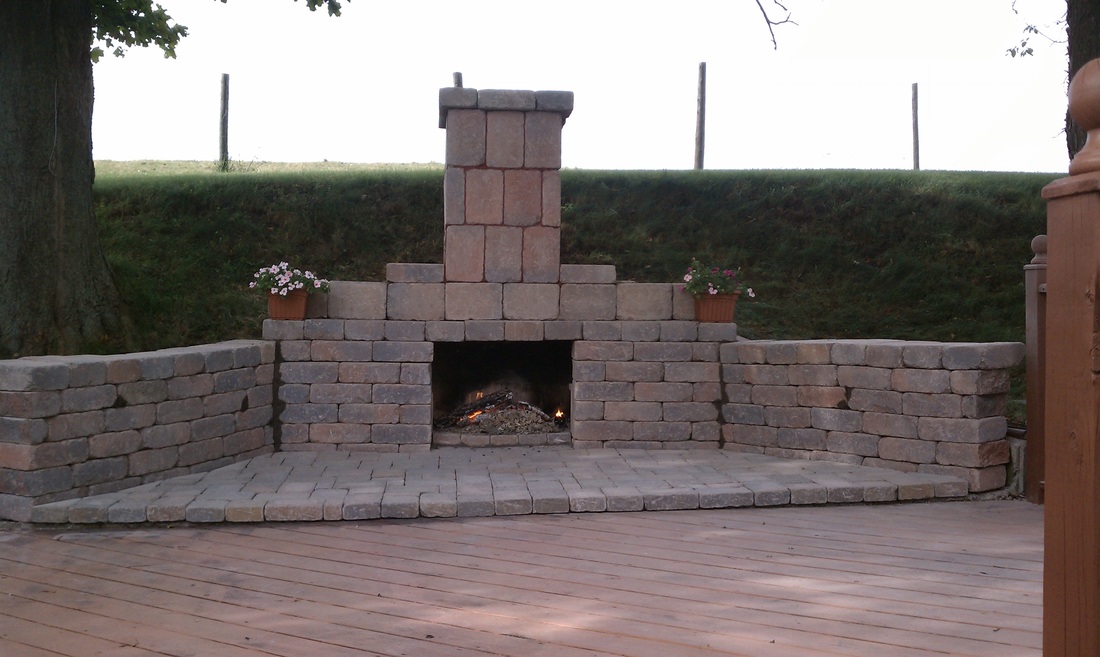
My clients had an old outdoor fieldstone fireplace that wasn't working right anymore and they decided they wanted to replace it with a new one, built to the proper dimensions for good drafting.
I used Belgard brand Weston wall blocks and Dublin Cobble pavers to create a fresh and functioning outdoor fireplace area.
Check out the photos and let me know what you think. And, if you are interested in creating an outdoor space similar to this one contact me and I'd be happy to discuss options.
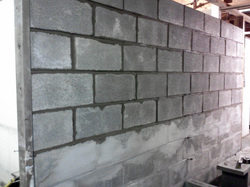
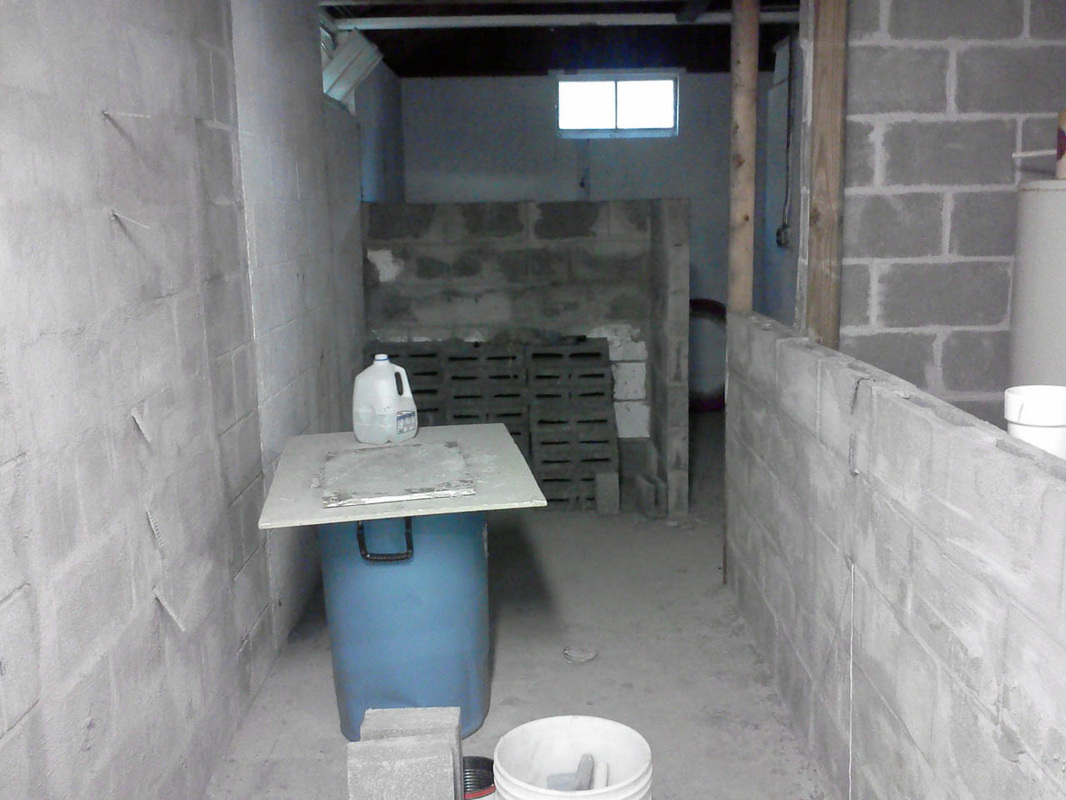
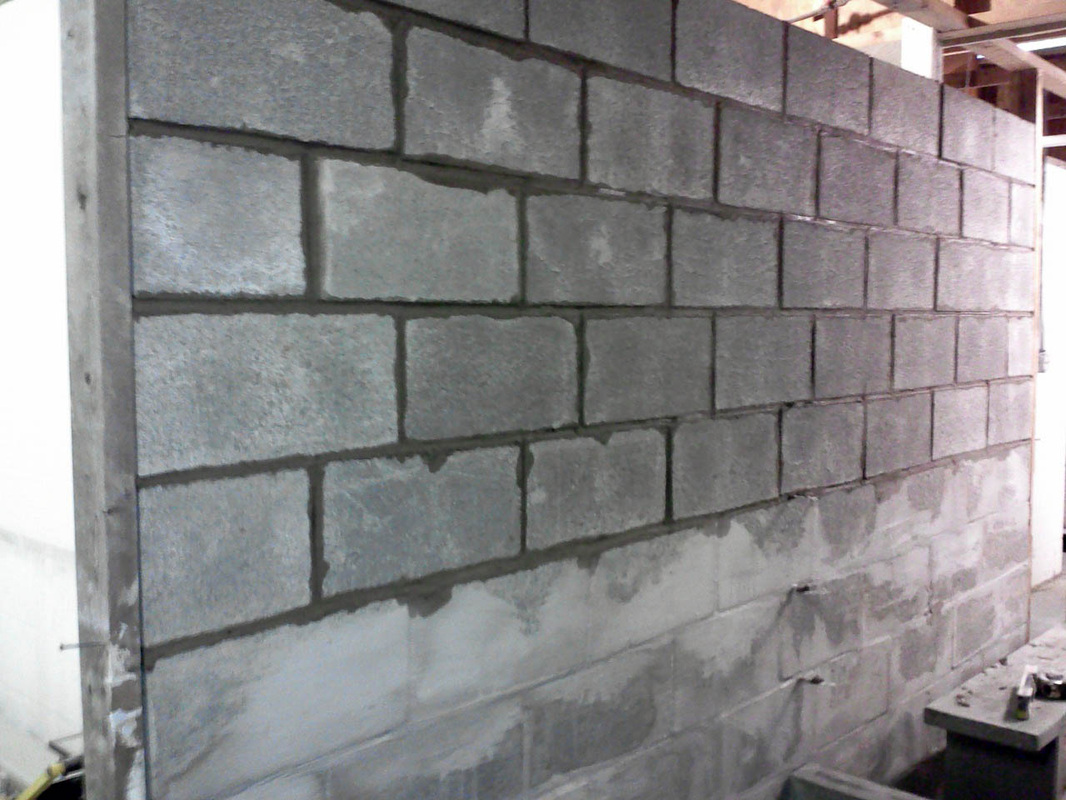
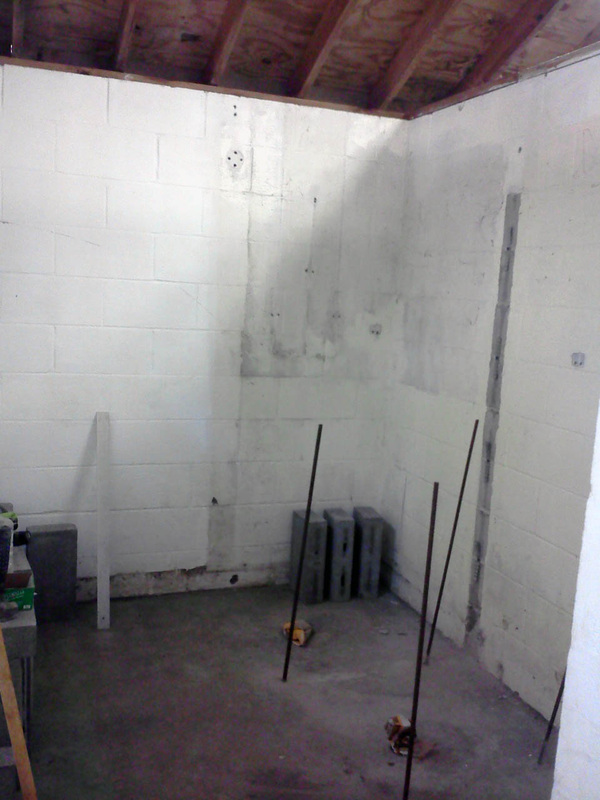
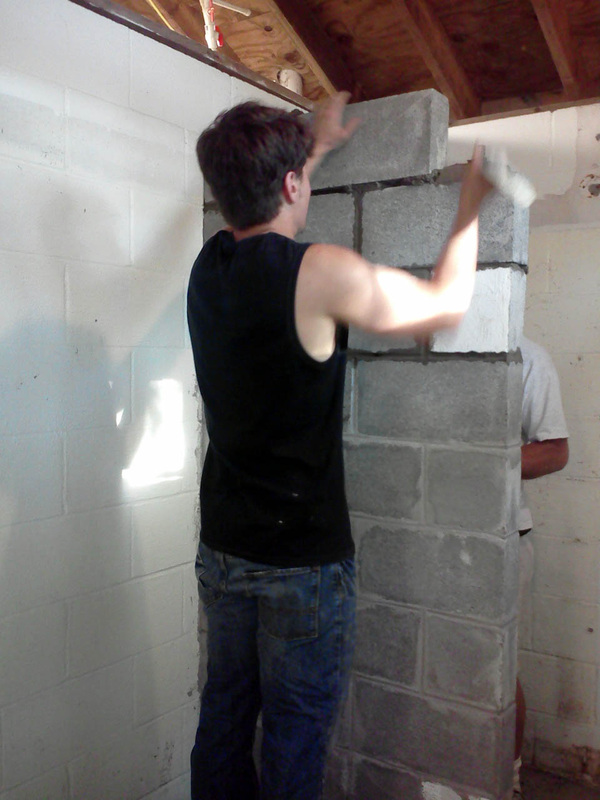
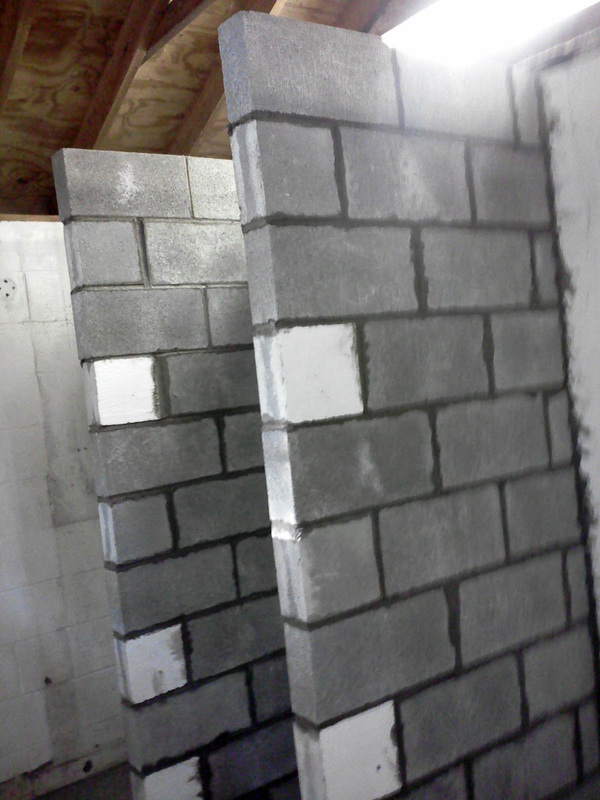
This past weekend I drove up to Ithaca to build interior block walls for a camp bathroom.
Sometimes I get called in when a homeowner (or campowner) attemts to do a project and then realizes it was a bit more difficult that they had anticipated. In this case, the camp had managed to get some of the walls started but decided the project would go quicker, and turn out better in the end, if they called in a professional.
I put up 158 blocks to create partition walls, and by the end of the day the camp was well on their way to having have a finished, usable bathroom space.
Check out the pictures and let me know what you think!
By the way, if you've started a masonry project that you aren't able to finish, give me a call! I'm happy to discuss options and help you turn your "to-do" projects into "done" projects!
I've been working on a ton of projects in the past month and I'm excited to share some of them with you over the next few weeks.
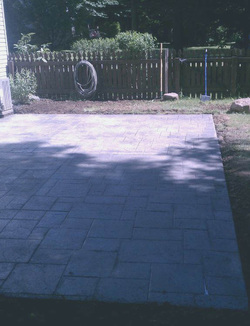
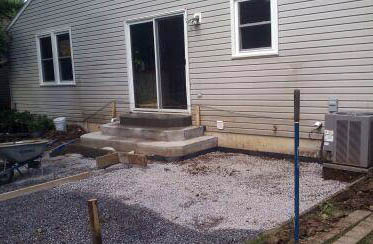
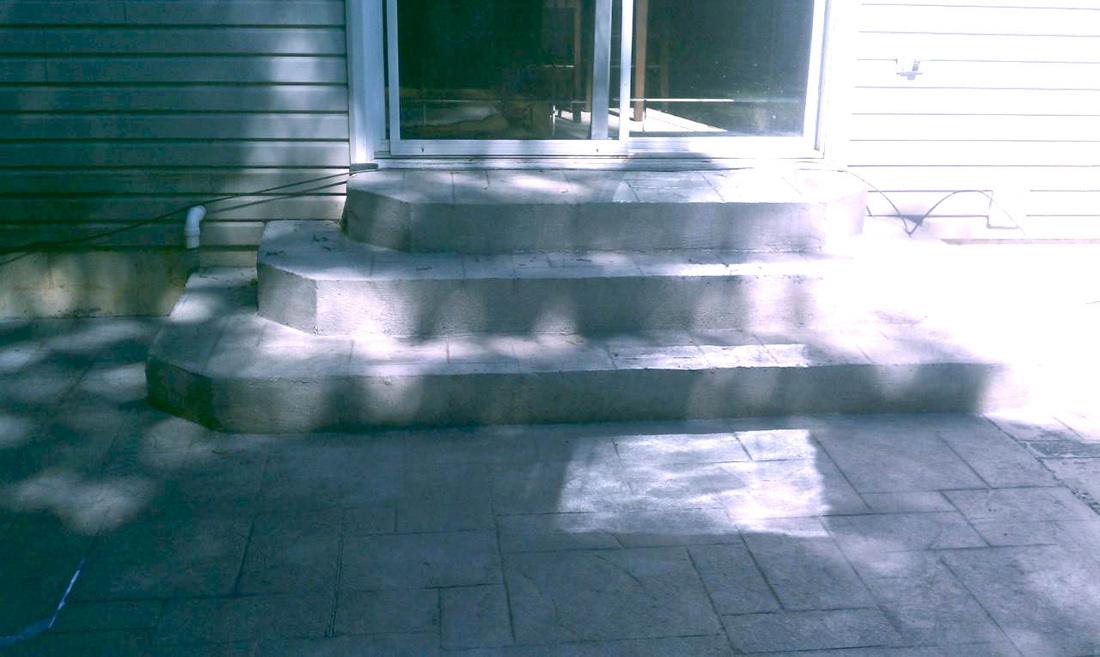
Today, here are some pictures from at 17' x 24' stamped patio I did with custom-made steps. It was 9 yards of concrete, which was stamped in Ashler Slate Pattern. The project turned out great and the homeowner is looking forward to using it this summer.
Stay tuned for some more photos of recent jobs next Wednesday!
Fun fact- I ran in the Boilermaker 15k race in Utica this past weekend (along with about 14,000 other people). It was such an great experience! I clocked my personal best time and I'm looking forward to doing it again next year!
See you back here next week. Check out the photos and let me know what you think!
Wet stone basements are an awful pain in the neck to their owners. They have reduced storage usability and seem to attract little more than mold and a stagnate smell. My most recent project
is one such basement.
As I walked in to this project I could see a few straight-forward issues that needed to be addressed (you can see some of this in the “Before” pictures below) Most of the water was entering the basement from the outside of the house. After some investigation I traced the issue to the concrete apron. The apron had broken at some point broken and a large 20 in. by 24in. piece was missing. This was allowing all the water from both the driveway and roof to sit there with nowhere to go except into the house.
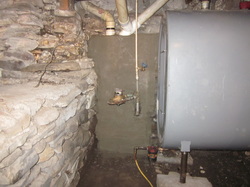
Looking at the inside you can see that all of the mortar that should be between the stones had washed out due to years and years of water funneling down and through some of the stones/ They were actually falling right out of the wall! Not a good situation at all for the homeowner.
There are lots of ways to fix this kind of problem and the solutions vary from expensive to relatively cheap options. I could have torn the whole wall out and replaced it with new block and waterproofed it from the outside, but not many people budget for that kind of expensive home repair. The most cost affective fix available was to try to shed the water from the obvious exterior point and
this is the option the homeowner chose to go with.
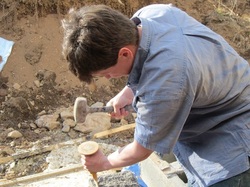
I replaced the missing portion of the exterior apron outside and cut back some of the driveway to allow for a slight pitch change as well. Then I went inside and pointed up the stone with Type S mortar with a waterproofing additive. In the places where stones had fallen out I built the wall back out with concrete brick and re-bar.
This project took two days on site. The two days were separated by a week to allow for proper curing. The second day that on the site I attached diamond mesh with nail-ins. The end product turned out great! It had good form as well as the function we desired to see. All around a great job.
PS- Please post in the comments any stories or questions you may have on the topic of “Leaky basements”. Can’t wait to read your stories!
My house is really old! It started as a 22’ x 33’ one room school house and was renovated in the 1950’s and again in the 1970’s to make it more livable. I am completely remodeling it now to give it a finished basement, new wiring, new plumbing, and a whole new layout.
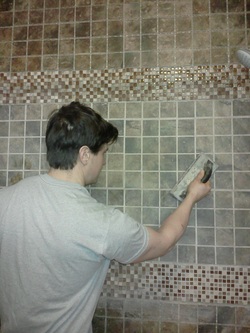
This weeks project is to finish the tile surround for the new bath tub. It is quite a project for a house that isn’t square! I want to do each remodeling project the right way, so I went all out. Here are some of the tools I used and would recommend:
- A cheap paint brush
- A screw gun
- A notched trowel
-A tile saw
- A rubber sponge trowel
-A sponge
- A caulk gun and caulk tool.
First, I sealed the sub wall board with a paint-on waterproofer using my cheap paintbrush. These surfaces may receive some residual penetrating moisture over a longer continuous span (such as several showers back to back) and I wanted to make sure there is no chance of any water damage.
Next, I used the screw gun to screw a cement board product to all the surfaces I was going to tile. This makes for a stronger wall and creates a good bond-able surface.
I laid the tile in a regular square fashion. I also used a mixed mosaic tile to form borders where the hand rail and curtain rod will be attached. I used the notched trowel to trowel the thin-set onto the wall. I wanted to keep more of the brown and woody look in this project so I grouted with a tan, moisture/mold resistant, sandless grout. It was a two part product using a grout enhancer in the water and then mixed with the powder.
I used the rubber trowel for application of the grout and a dampened regular sponge to wipe off excess grout.
The final step is to caulk around the seam where the wall and tub meet, along with all the corners. This allows for any future flexing of the house, and helps prevent cracks. (This will happen in any house using different materials ie. wood, cement, concrete, steel, block.)
Check out the photos below and come back this weekend for pictures of the final project.
The key, as always, in building projects is: are you going to do it cheap or right?
Whether you are building your life, family, career, relationships, or your house, if you build it cheap it won't stand the pressures of this world, so build it right. Be resilient! Thrive!


 RSS Feed